Setting Custom Ringtones on iPhone
If you have an iPhone and want to set a custom ringtone, there are a few ways to accomplish this, none of them however are logical or sane. The method outlined here also works on iPad, iPod Touch or any other iOS device and should apply to anything running iOS 12 through to 14 or later.
The easiest and my preferred method is to make use of GarageBand on iOS. There are other methods such as using Finder on macOS or iTunes on Windows, but those require that you either have your phone synced to that specific computer or that you have the “Manually manage media” setting toggled on for your iPhone in iTunes. And since iTunes is going the way of the dodo, that particular1 method may not be around for much longer.
The method#
First of all you need to have GarageBand for iOS on your phone2. Next ensure you have the audio file that you wish to make a ringtone accessible in the Files app. You can do this by just dropping it into iCloud Drive from a Mac or PC or any other device, or if you’re running iOS 13 or later, you can download the file directly from a the web in Safari. Your audio file can be an AIFF, WAV, CAF, Apple Loops, AAC, MP3 or MIDI file.
-
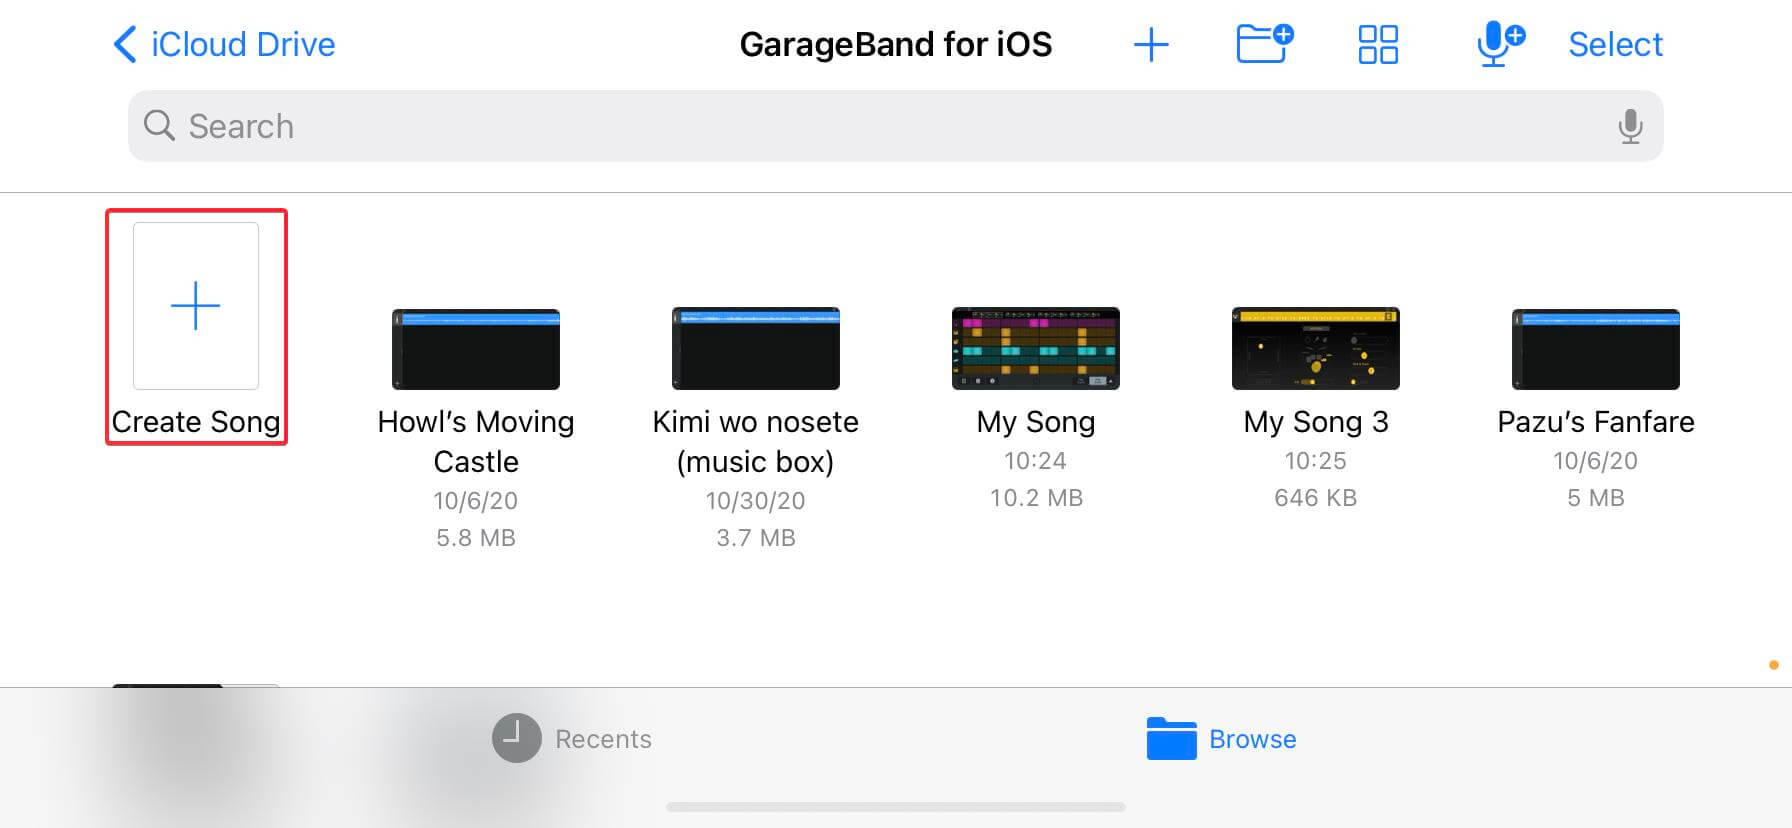
Open GarageBand for iOS and tap “Create Song”.
-
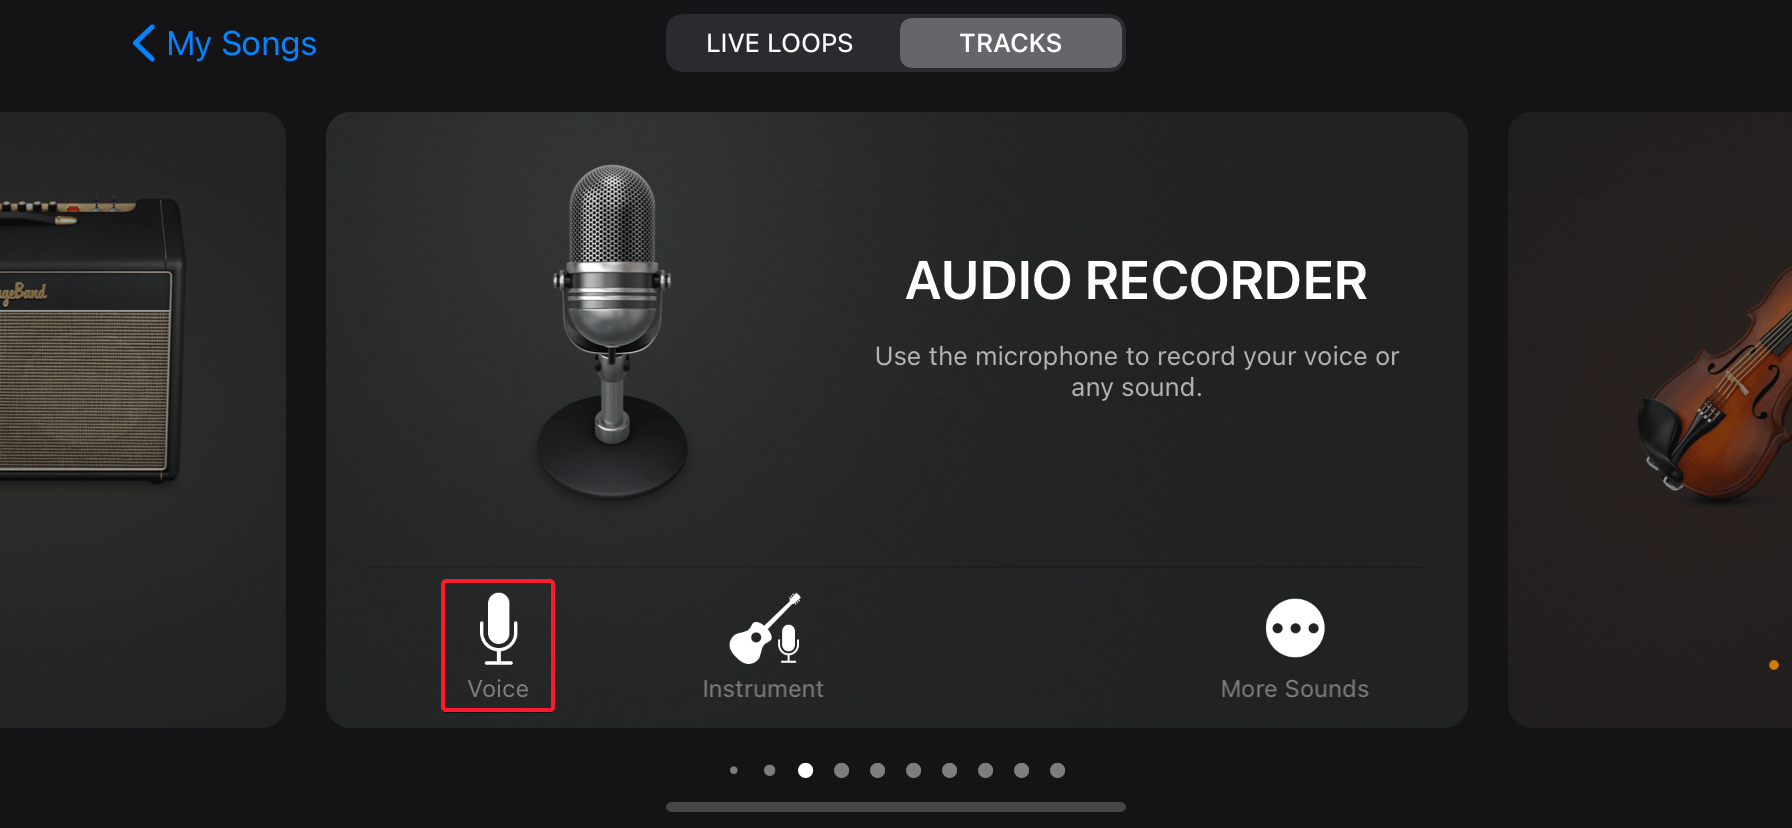
Swipe through the options till you find the Audio Recorder section and tap the “Voice” icon.
-
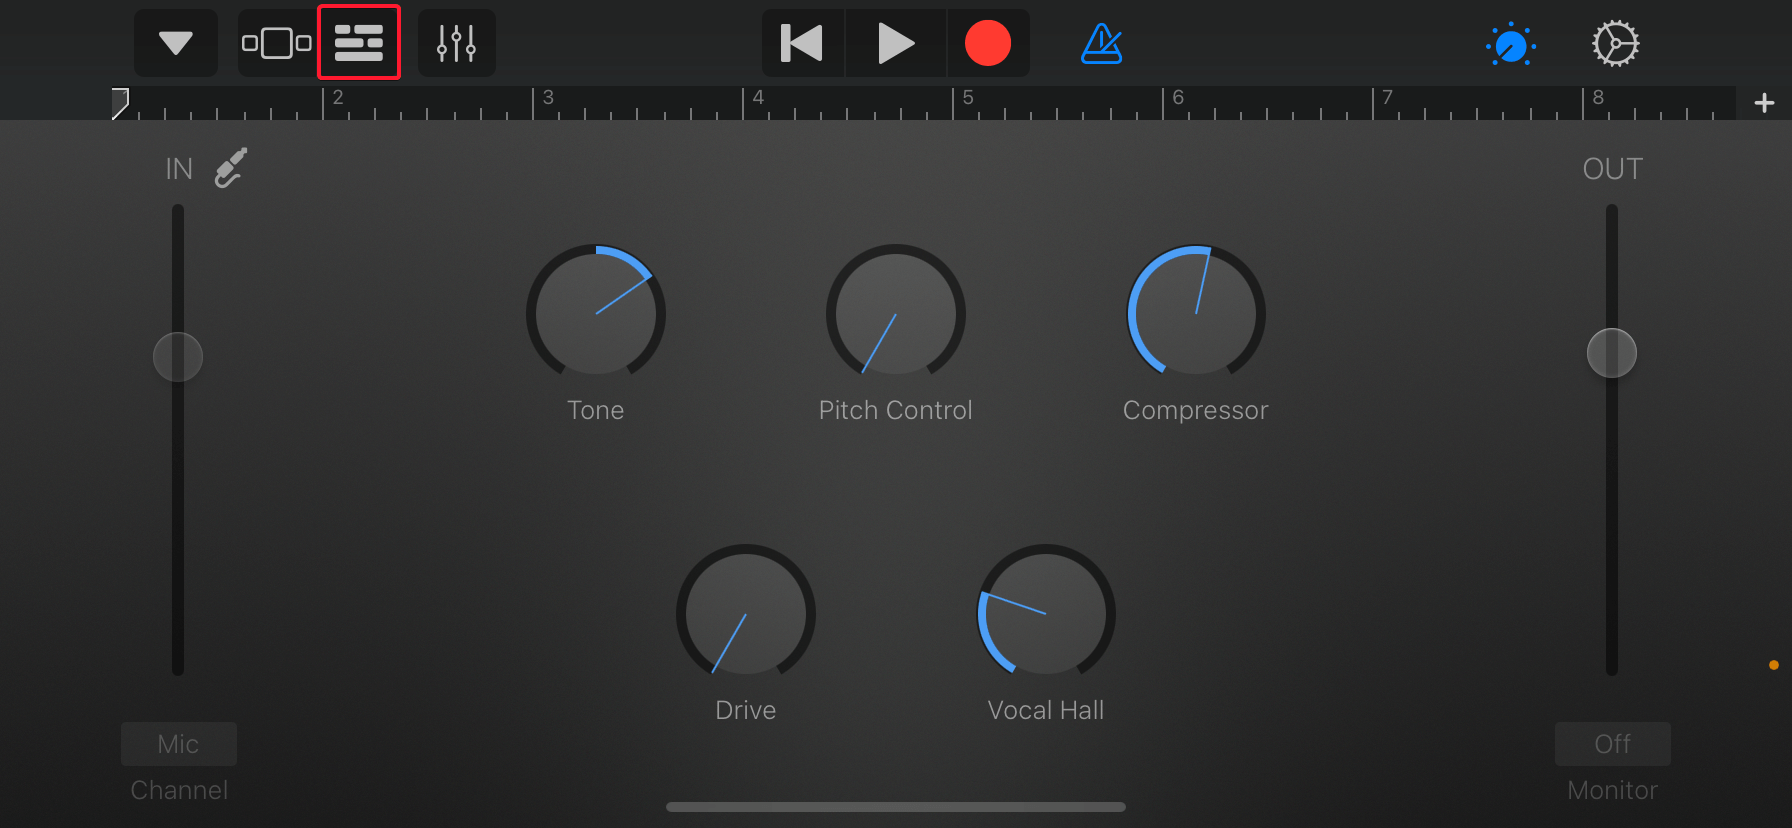
On the screen that appears tap the timeline editor icon highlighted in the image below.
-
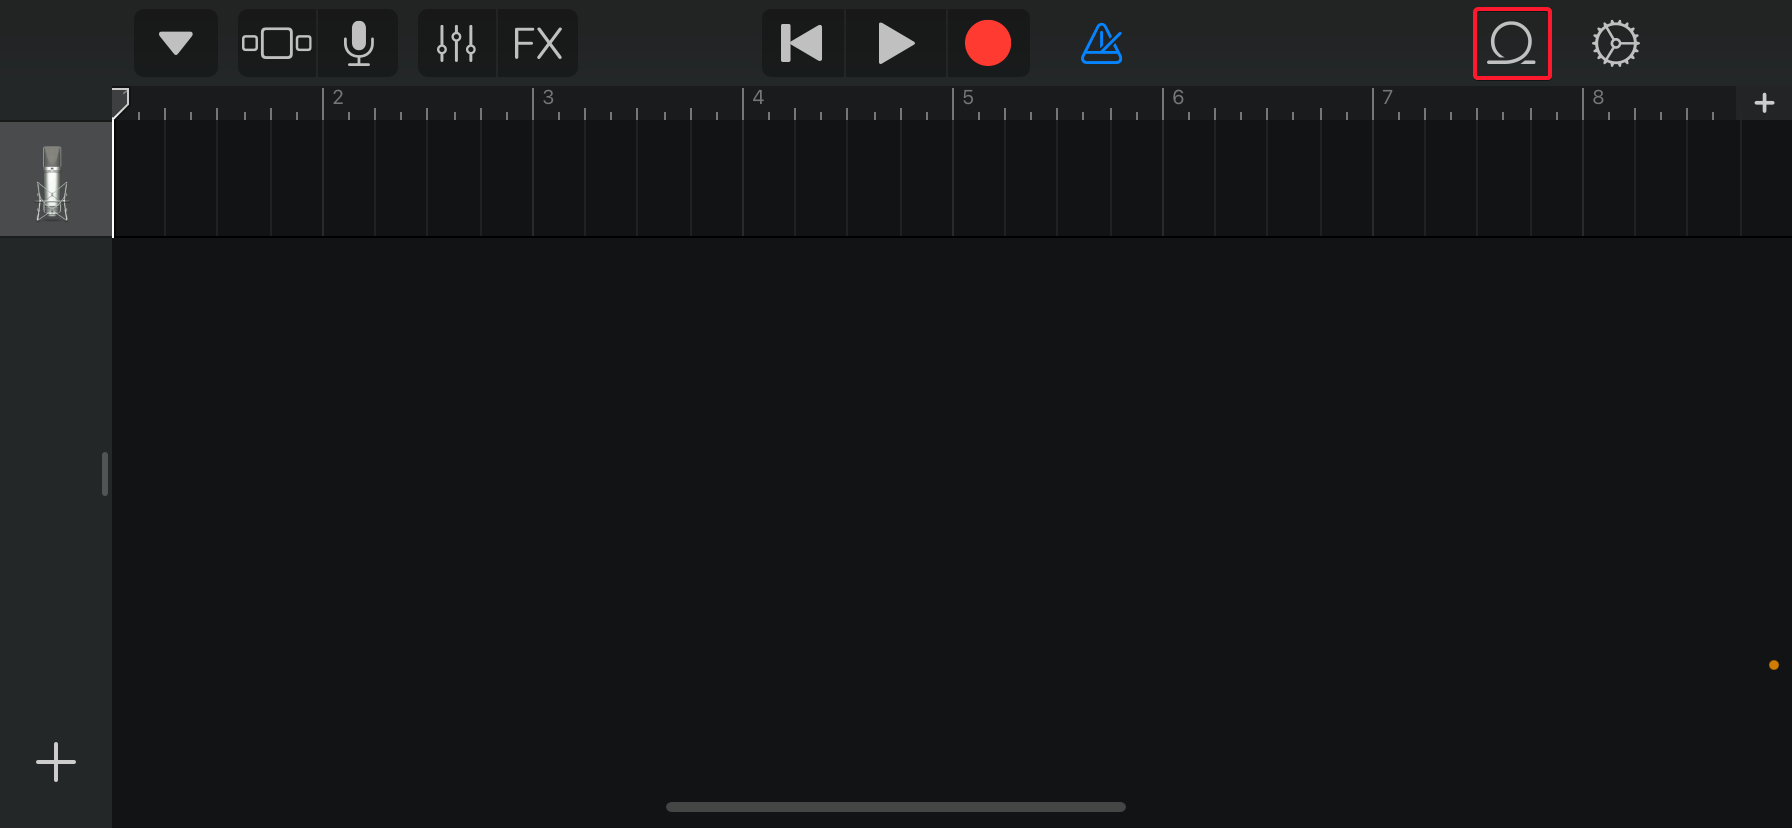
In the timeline editor view, tap the Loops icon highlighted in the image.
-
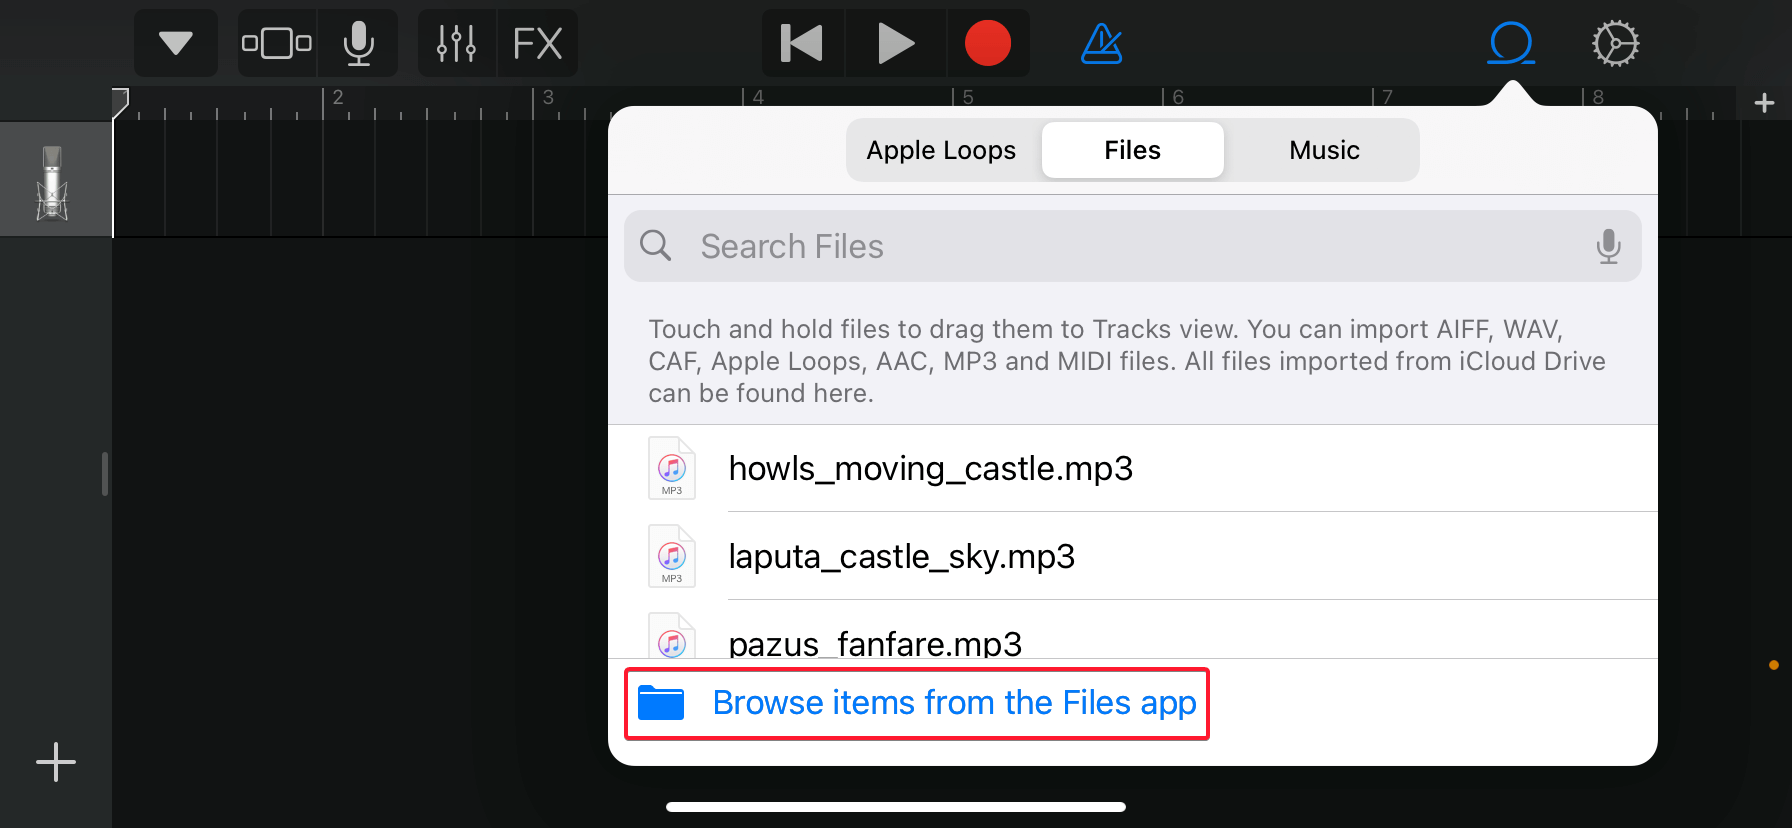
Tap “Browse items from the Files app”. You can also clip a portion of a song from the Music app from your locally synced music. Once the clip you’ve selected appears in this menu, you can tap and hold the file and drag it onto the timeline.
-
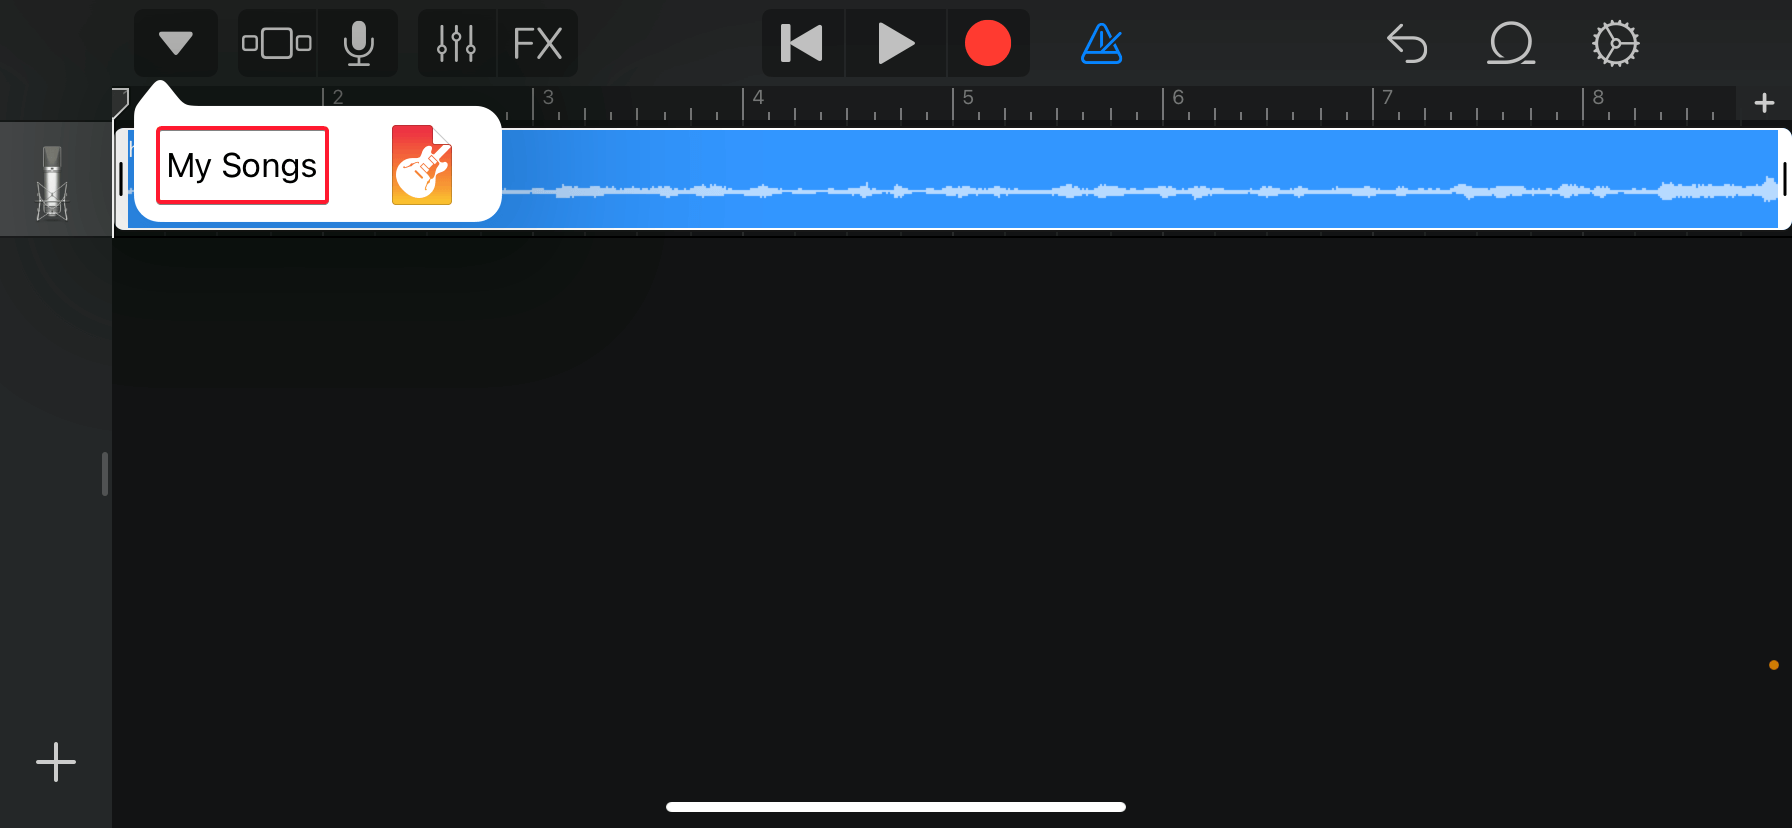
Cut/trim the audio as needed and then exit the editor by tapping the inverted chevron in the top left and tapping “My Songs”.
-
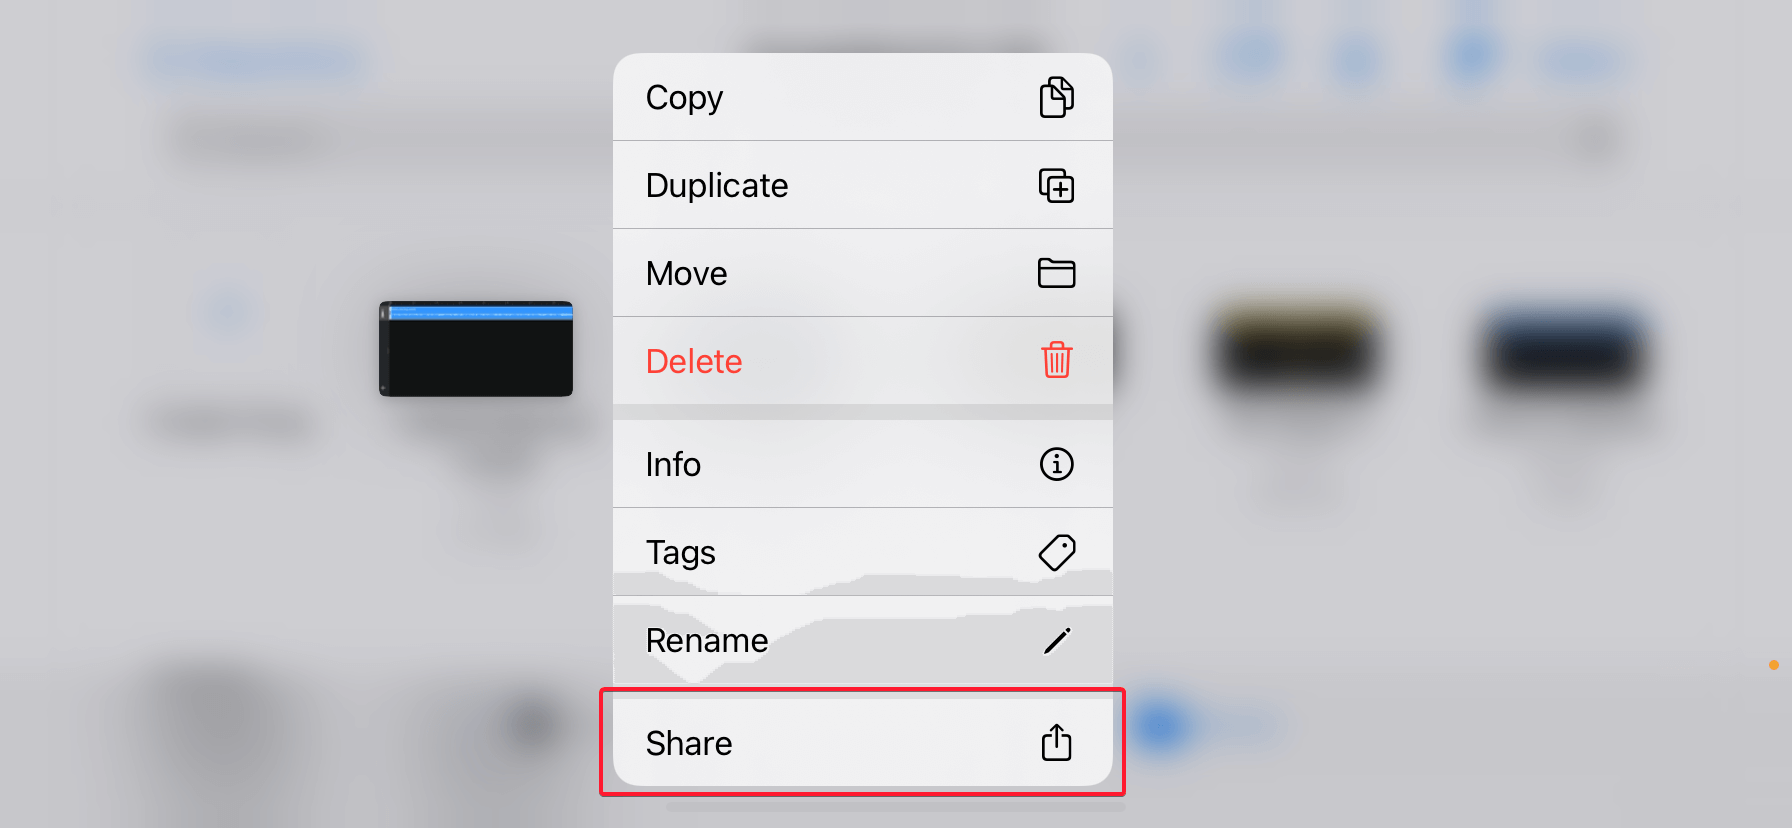
Tap and hold on your newly created GarageBand project file and tap “Share”.
-
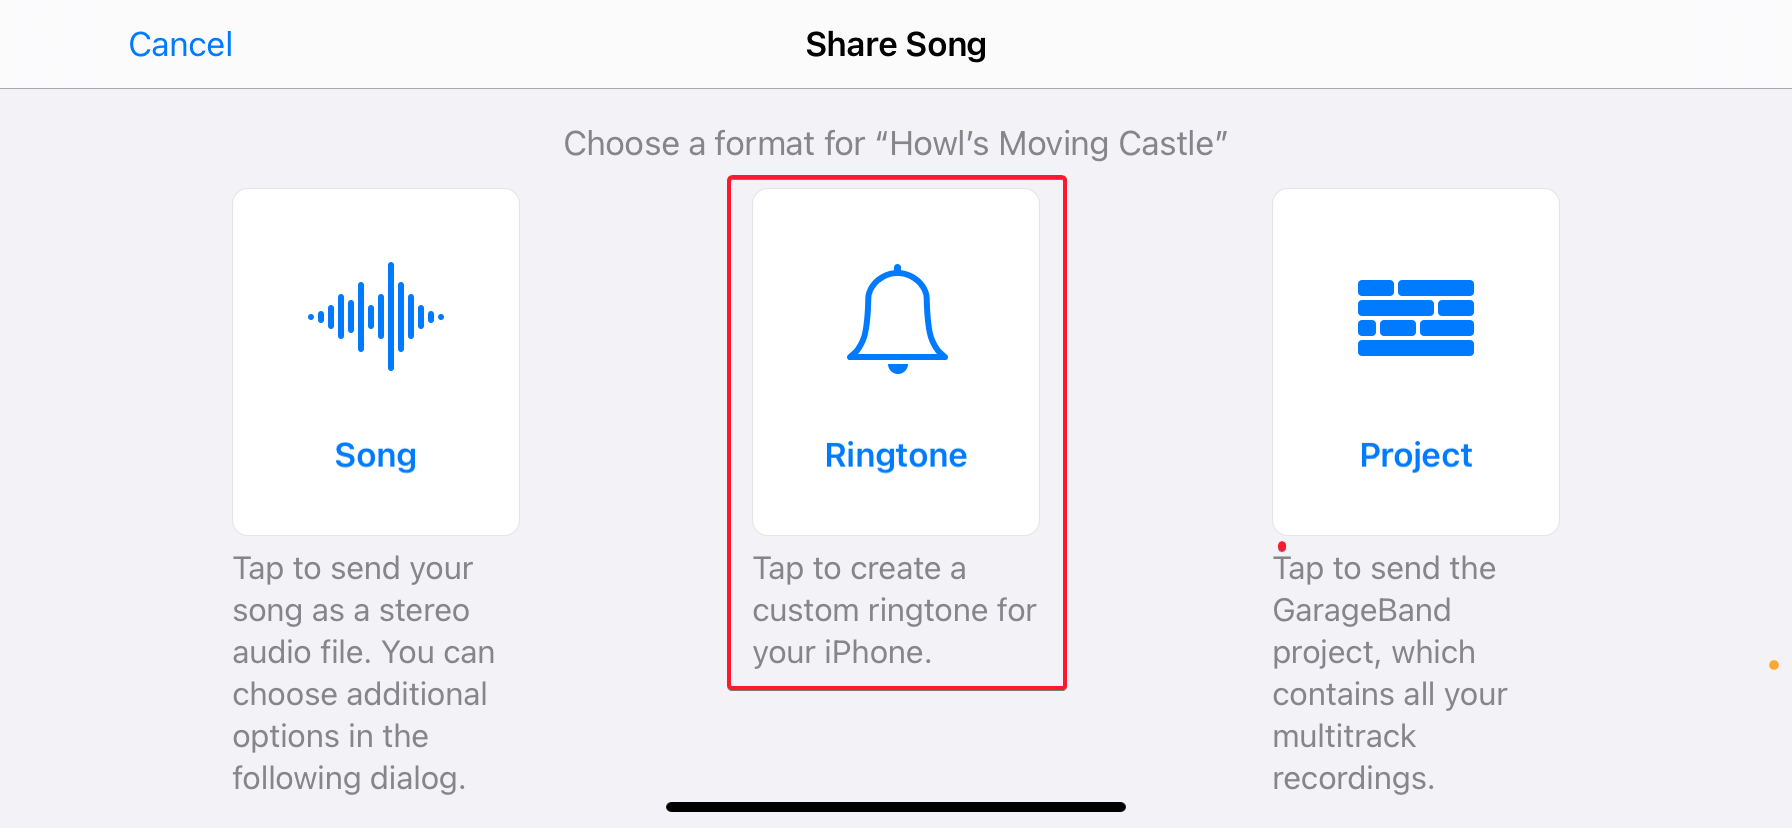
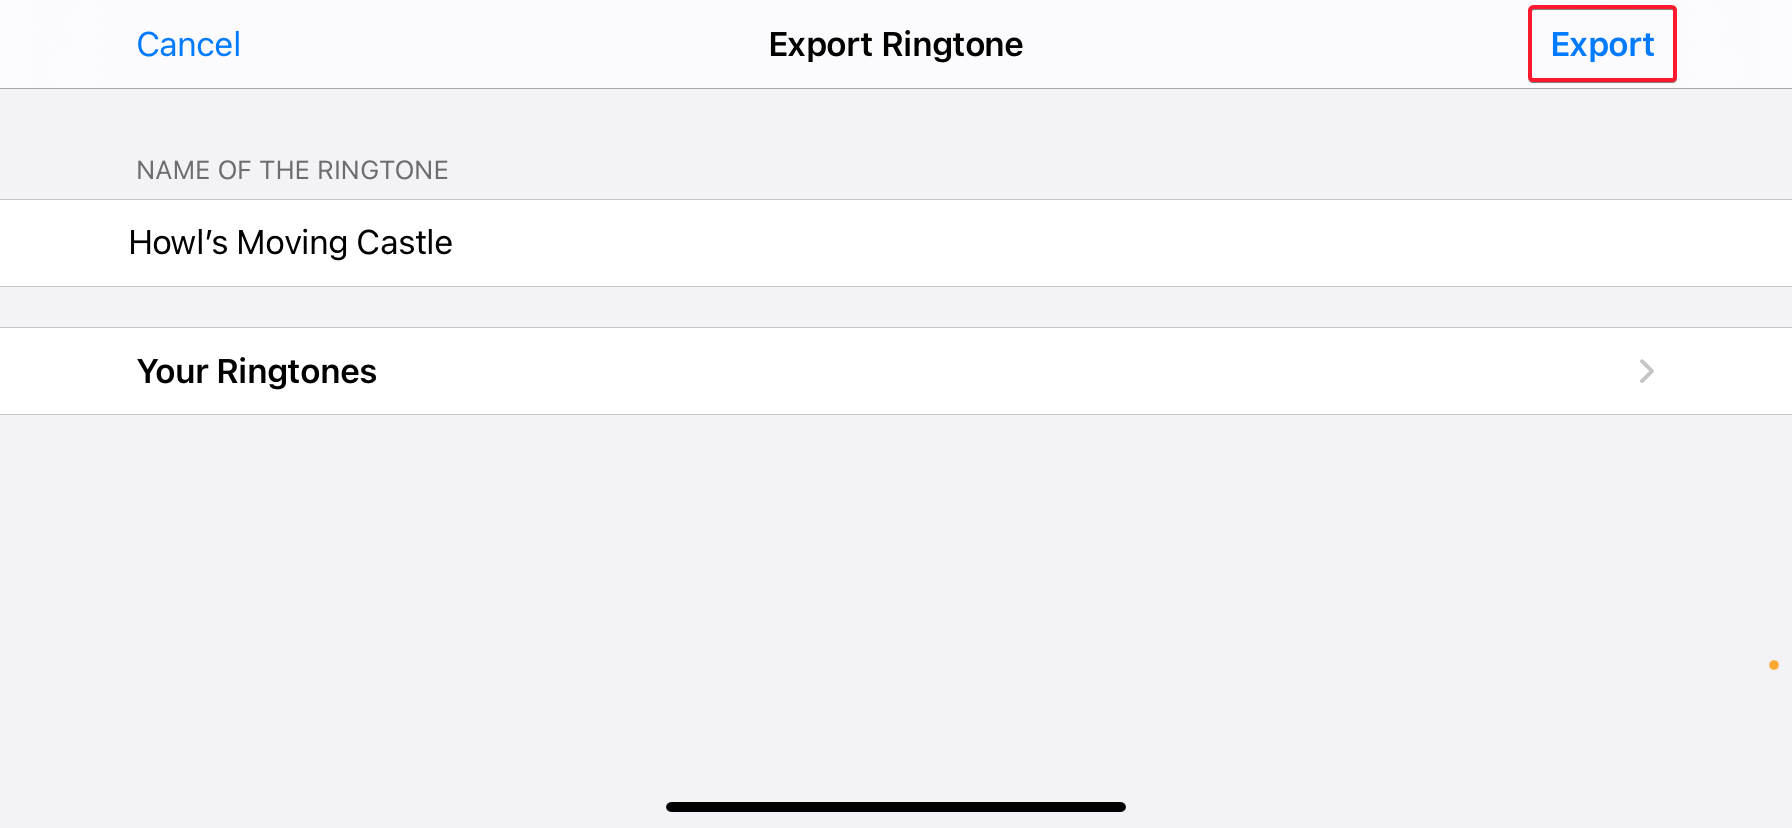
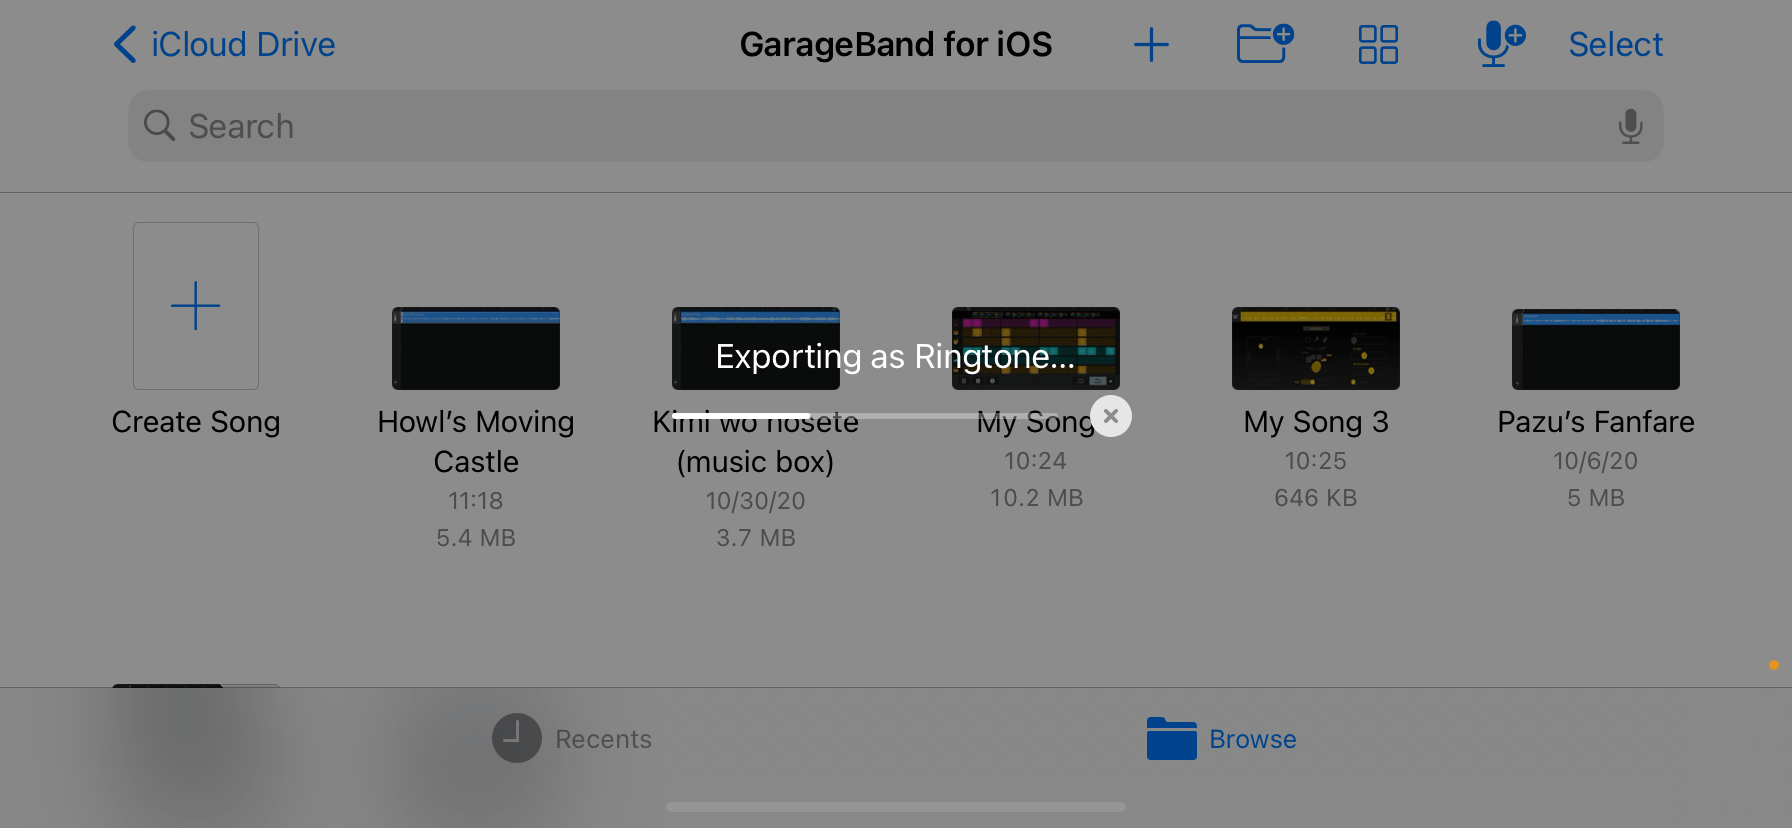
Tap “Ringtone” from the options presented, name it and hit “Export”.
-
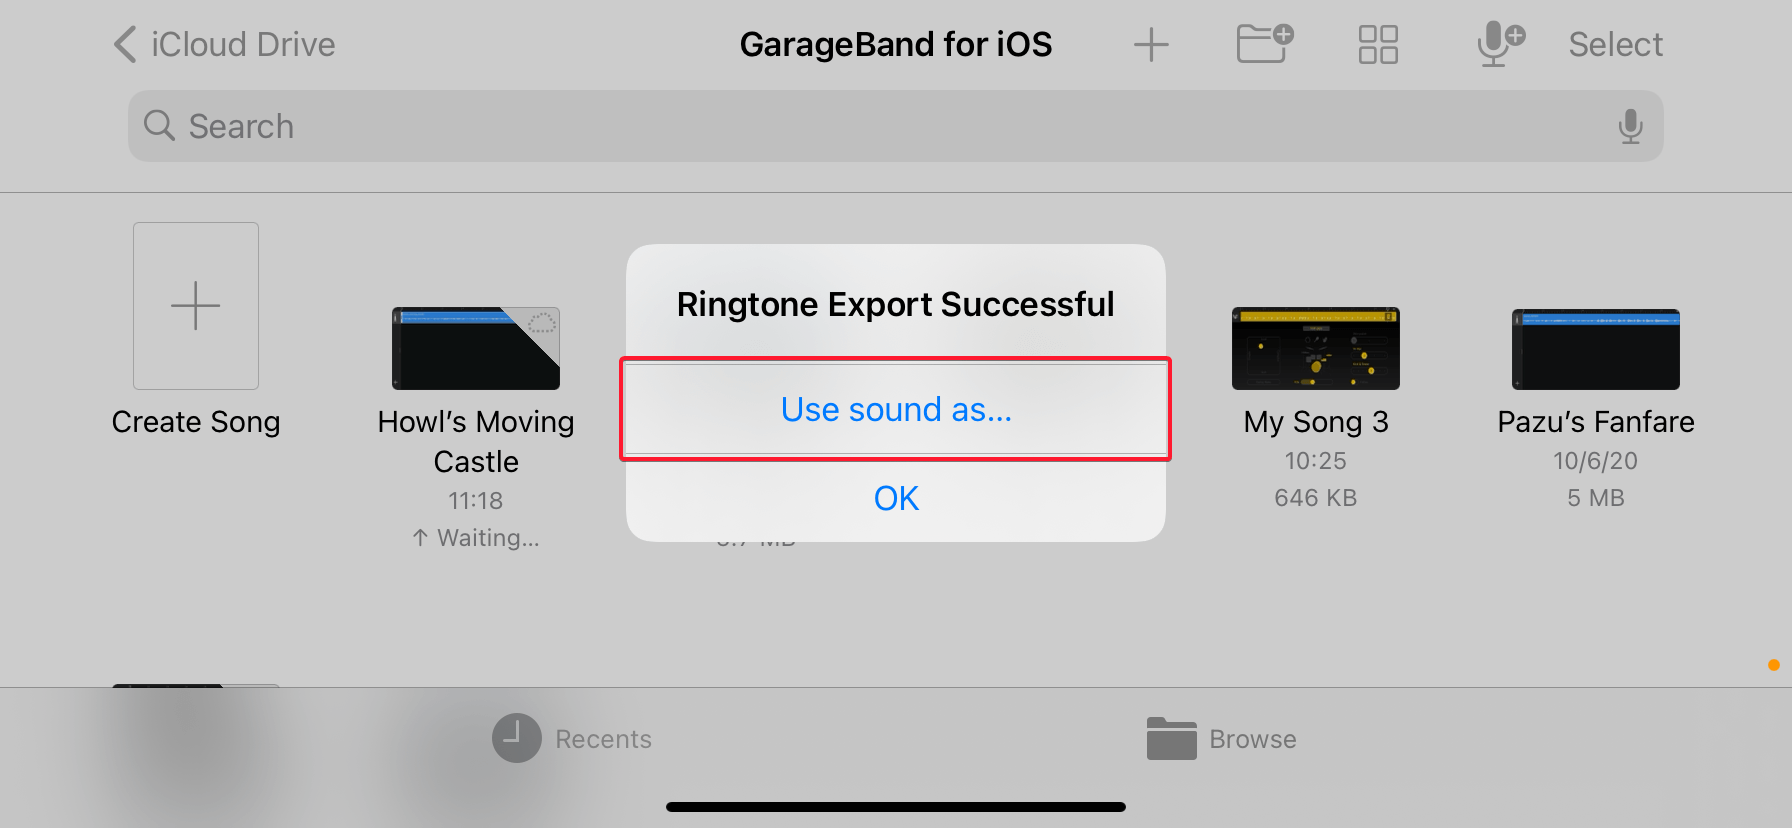
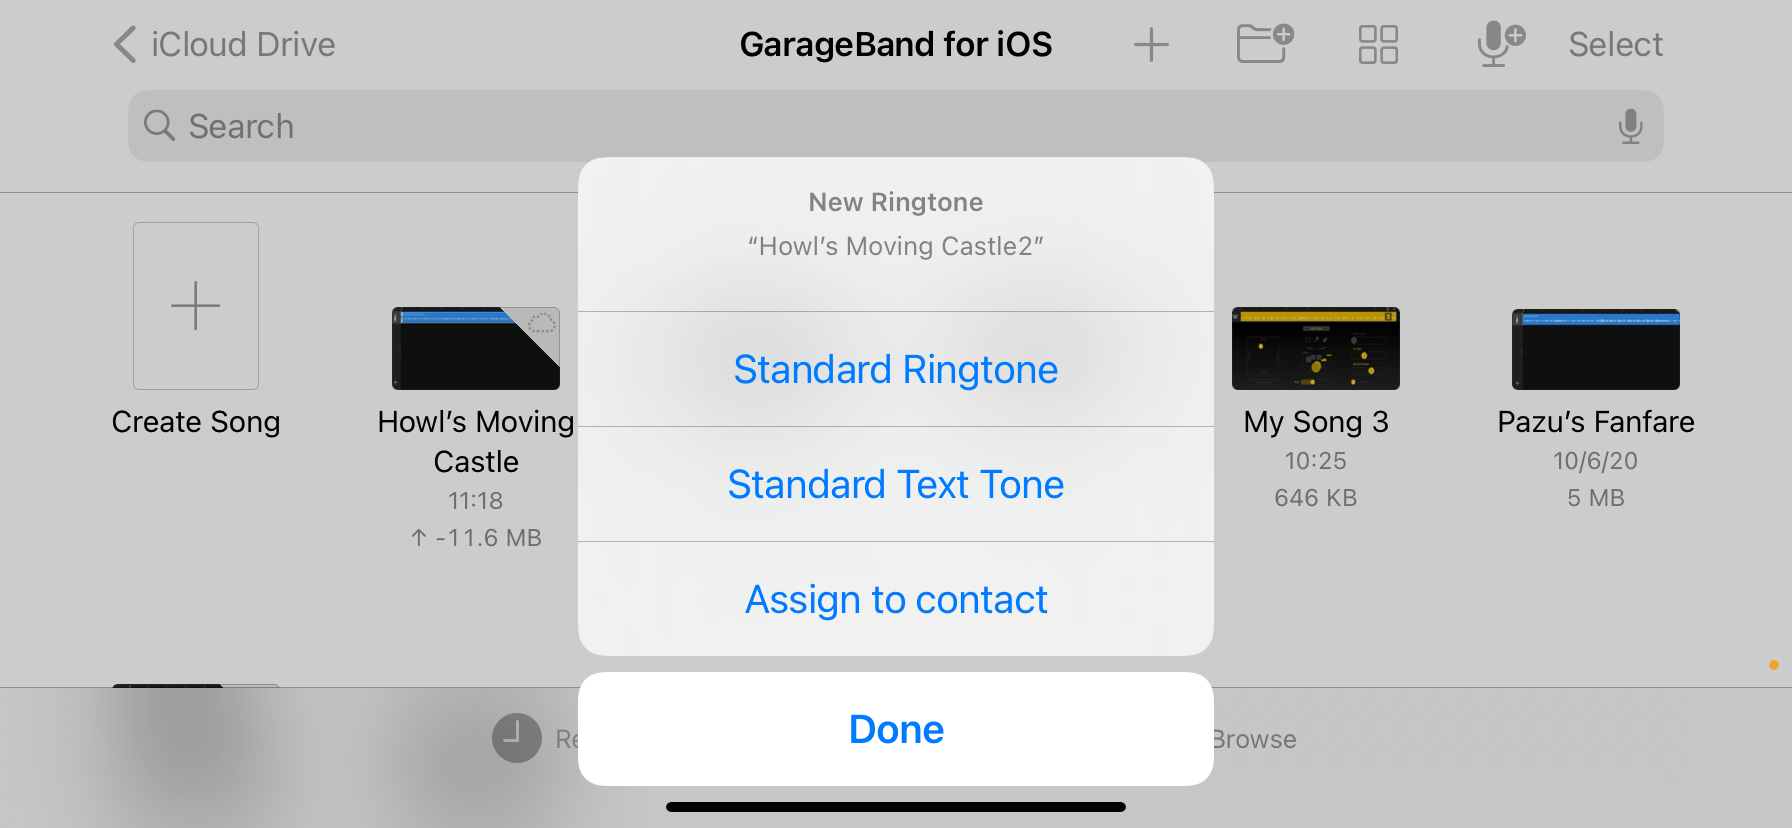
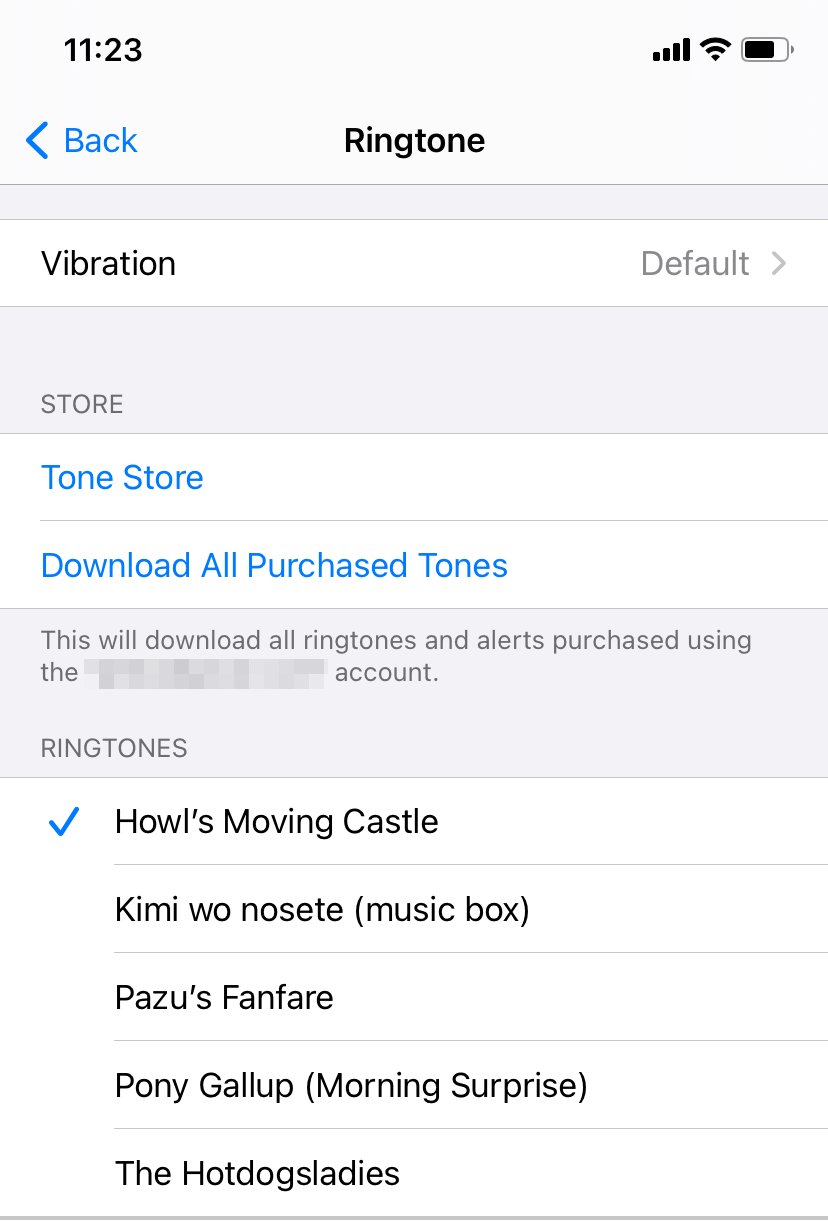
You can use the imported ringtone for calls, texts or assign it just to a specific contact. You can also just dismiss this by pressing “Done” and go to Settings → Sounds & Haptics → Ringtone and assign the newly imported ringtone as you like.
And there you go, you now have a custom ringtone imported to your iPhone. Sadly these ringtones that you import do not sync across to all your devices signed into the same Apple ID, but once you have the GarageBand project files in iCloud Drive it’s trivially easy to do so in a few taps on your iPad or any other device.